
Main Courses
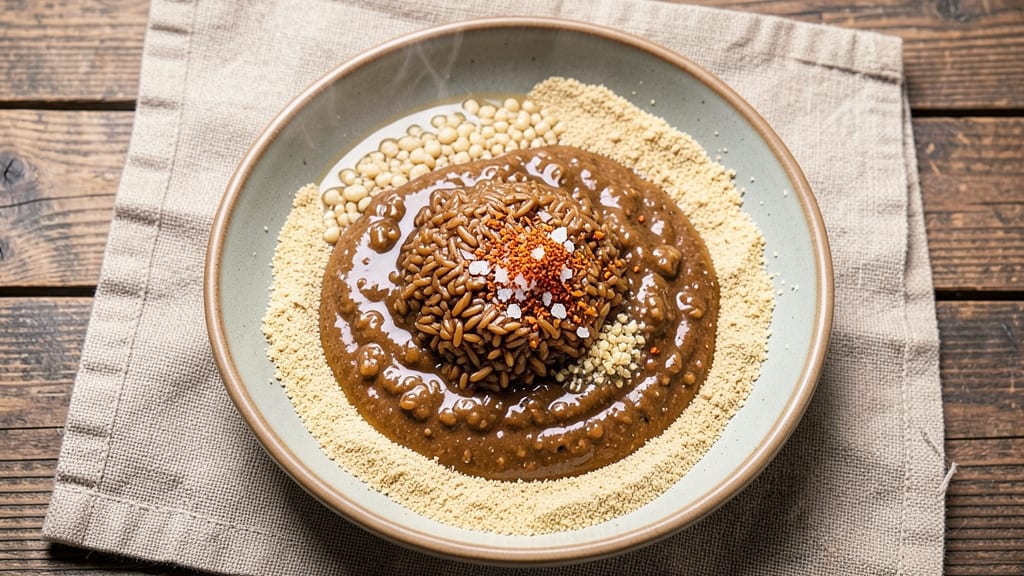
This brown rice dosa batter recipe transforms simple ingredients into crispy-edged, fermented South Indian crepes with perfect texture. The secret lies in proper fermentation—6 to 12 hours at warm room temperature—where urad dal and rice develop tangy layers that crisp beautifully on a hot griddle.
Every bite delivers a satisfying crunch outside and fluffy interior, all while staying completely plant-based.
The process is straightforward but requires patience: soak rice and urad dal overnight, grind into a smooth batter, ferment until slightly bubbly, then adjust consistency with water. Cook on a well-heated griddle until golden edges form—this is where the magic happens.
Serve with coconut chutney or sambar for an authentic meal that’s both nutritious and restaurant-worthy.
Ingredients for brown rice dosa batter
Authentic South Indian flavors meet plant-based nutrition in this crispy, fermented dosa batter.
| Ingredient | Amount | Notes |
|---|---|---|
| Brown Rice 🌾 | 1 cup | Uncooked, short-grain preferred |
| Urad Dal 🌱 | ½ cup | Split black gram, skinless |
| Rice Flour 🌾 | ¼ cup | For crispy edges |
| Filtered Water 💧 | 1 ½ cups | For soaking and batter |
| Salt 🧂 | ½ tsp | Diamond Crystal preferred |
| Asafoetida (Hing) 🌿 | ⅛ tsp | Pinch for aroma |
| Fresh Fenugreek Leaves 🌿 | ¼ cup | Optional, for flavor |
| Coconut Oil 🥥 | 1 tbsp | For griddle cooking |
| Curry Leaves 🌿 | ⅛ cup | Fresh, lightly crushed |
| Cumin Seeds 🌶️ | ½ tsp | Toasted for depth |
| Red Chili Powder 🌶️ | ¼ tsp | Adjust to taste |
| Black Salt (Kala Namak) 🧂 | ⅛ tsp | For sulfuric tang |
The foundation of crispy dosas lies in the rice and urad dal. Short-grain brown rice yields the best texture—Bob's Red Mill or Navan brands work perfectly. Urad dal should be split and skinless for smooth grinding; Patel Brothers or Indian grocery stores carry the best quality. Soak both ingredients overnight in filtered water to ensure proper hydration. Fenugreek leaves, if using, should be fresh and bright green—South Indian markets often sell them in bundles. The asafoetida (hing) is non-negotiable; its umami punch elevates the batter beyond basic rice crepes.
No fresh curry leaves? Dried leaves at one-third the amount work, though fresh delivers superior aroma. Short on urad dal? Substitute with moong dal at equal weight, but expect slightly less crispiness. For the spice blend, toasted cumin seeds are essential—use a dry skillet for 30 seconds to deepen their flavor. Black salt (kala namak) adds that signature dosa tang; Indian grocery stores stock it in small packets. The batter consistency should resemble thick pancake batter—adjust with water as needed. Pre-fermented dosa mixes? Skip them—homemade delivers restaurant-quality texture.
Fermented dosa batter reaches peak flavor after 8-12 hours at 80°F (27°C). Store in a warm, draft-free spot—oven with light on works perfectly. Once fermented, use within 24 hours for best results. Leftover batter? Freeze in ice cube trays for single-serving portions. The crispy edges form in 2-3 minutes on a well-heated griddle—coconut oil prevents sticking better than vegetable oil. For authenticity, serve with homemade coconut chutney or spiced tomato sambar.
Why You'll Love This Recipe
- No-Soak Needed: I swear by this trick—just soak the urad dal for 4 hours (not overnight) and blend it with pre-cooked brown rice. The fermenting happens while I sleep, and by morning, I’ve got a thick, tangy batter without the fuss of constant stirring or failed attempts.
- Nutty Crispy Edge: That brown rice? It’s the game-changer. The dosas get this perfect balance—crispy outside, soft inside, with a subtle earthy flavor from the rice. No one ever guesses it’s not white rice, and honestly? It’s way more interesting.
- Meal Prep MVP: Between us, this batter keeps for five days in the fridge. I make a big batch on Sundays, and suddenly I’ve got breakfast covered for the week—no last-minute scrambling. Just scoop, cook, and serve. (Yes, even on a Tuesday night.)
- Budget-Friendly Powerhouse: Urad dal and brown rice are cheap, but they punch above their weight. A 500g bag of each lasts me months, and I’m always feeding guests something that feels special—not cheap. Plus, the rice flour adds that perfect texture without breaking the bank.
Step-by-step instructions for brown rice dosa batter
Here's the precise method for crafting fermented dosa batter with perfect crispy edges.
Soak the Brown Rice and Urad Dal
Combine the 1 cup brown rice and 0.5 cup urad dal in a large mixing bowl. Add 1.5 cups filtered water and stir gently to ensure both ingredients are fully submerged. Cover the bowl with a clean kitchen towel or plastic wrap and let it soak at room temperature for 6-8 hours. The rice and dal should absorb the water completely and develop a slightly sticky texture.
I've found that soaking at room temperature (around 75°F) yields the best fermentation results. If your kitchen is cooler, you may need to extend the soaking time to 10-12 hours. The key is to achieve a smooth, well-hydrated mixture that's ready for grinding without any dry spots remaining.
Grind to a Smooth Batter
After soaking, drain any excess water and transfer the rice-dal mixture to a wet grinder or high-powered blender. Add 0.25 cup rice flour, 0.5 tsp salt, 0.125 tsp asafoetida (hing), 0.25 cup fresh fenugreek leaves, 0.125 cup curry leaves, 0.5 tsp cumin seeds, 0.25 tsp red chili powder, and 0.125 tsp black salt (kala namak). Grind in batches, adding just enough water to create a smooth, pourable batter with a slightly thick consistency.
The ideal batter should coat the back of a spoon but still flow easily when poured. If it's too thick, add 1 tablespoon water at a time until you reach the perfect consistency. Avoid making it too thin, as this can prevent proper fermentation and affect the crispiness of your dosas. The batter should be smooth with no visible rice or dal particles.
Ferment the Batter Overnight
Transfer the ground batter to a clean, wide-mouthed container and smooth the surface. Cover with a damp kitchen towel or plastic wrap and let it ferment at room temperature for 8-12 hours. The ideal fermentation temperature is between 75-85°F—this creates the perfect balance of tangy flavor and crispy texture.
You'll know the batter is properly fermented when it develops a slightly bubbly texture and a mild, tangy aroma. The edges should pull away slightly from the sides of the container, and the batter should rise about 25-30% in volume. Don't skip this step—proper fermentation is what gives dosas their signature crispy edges and delicate flavor. If your kitchen is cooler, you may need to extend fermentation to 14-16 hours.
Prepare for Cooking
Before cooking, give the batter a quick stir to redistribute any settled ingredients. The batter should be well-aerated with small bubbles throughout. Heat a non-stick tawa or dosa pan over medium-high heat and lightly grease with 1 tablespoon coconut oil, spreading it evenly with a paper towel.
Here's the thing—proper heat control is crucial for crispy edges. The pan should be hot enough that a drop of water sizzles and evaporates instantly when flicked onto the surface. If you add batter too soon, the oil won't be hot enough to create that signature crispy edge. Let the pan heat for 2-3 minutes before adding the first ladle of batter.
Cook to Golden Perfection
Pour a ladleful of batter onto the center of the hot pan, quickly spreading it into a 6-inch circle using the back of the ladle. Drizzle a thin line of coconut oil around the edges and let it cook undisturbed for 1-2 minutes until the edges turn golden brown and the center looks slightly set but still moist.
Flip the dosa carefully using a spatula and cook the other side for another 30-45 seconds until lightly golden. The dosa should be crispy at the edges but still soft in the center—this is what makes it perfect. Serve immediately with coconut chutney or sambar while still warm. The contrast between the crispy exterior and soft interior is what makes this recipe truly special.
Pro Tips For Making Brown Rice Dosa Batter
- SOAK URAD DAL 8 HOURS: I learned this the hard way—skipping overnight soaking leaves the dal grainy no matter how much you grind. Eight hours minimum (yes, even if you're impatient like me) breaks it down enough to blend smoothly. Use filtered water—tap water’s minerals turn the batter cloudy.
- GRIND IN BATCHES: Brown rice is stubborn. Split the soaked urad dal into two portions and grind separately—your blender will thank you. The first batch will thicken faster; add water gradually to avoid a gummy mess. (Pro tip: Let the motor run for 30 seconds after the last pulse to catch any stuck bits.)
- REST THE BATTER 4 HOURS: This isn’t the prettiest method, but it’s the tastiest. After mixing, let the batter sit uncovered in the fridge—it thickens and develops flavor. I skip this when I’m lazy, but the dosas puff up better and taste richer. (Your future self will thank you.)
- USE COLD WATER FOR FINAL MIX: The batter’s texture hinges on temperature. After grinding, chill the urad dal mix for 15 minutes before combining with rice flour and water. Cold water prevents gluten from forming too fast, keeping the dosas crisp rather than chewy. (Sounds weird, but it works.)
Common mistakes when making great brown rice dosa batter
Over-Soaking the Batter
If you let the batter ferment beyond 16 hours, it can develop a harsh, overly sour taste that ruins the delicate balance of flavors. I’ve learned this the hard way—once, I left mine fermenting for 24 hours in a warm spot, and the dosas tasted like vinegar!
The ideal fermentation window is 8-12 hours at 75-85°F. If your kitchen is cooler, extend to 14-16 hours max. Always check for a mild tangy aroma and small bubbles—these are your cues, not overpowering sourness. 🌡️
Under-Fermented Batter
Skipping fermentation or rushing it results in dosas that lack crispy edges and have a flat, bland taste. The fermentation process is what creates those signature bubbles and tangy flavor.
If your batter hasn’t developed any bubbles after 8 hours, try placing it in a slightly warmer spot—like near a turned-off oven with the light on—or add ½ tsp yogurt to kickstart fermentation. Never use unfermented batter; it’ll make your dosas taste like plain rice crepes. 💡
Incorrect Batter Consistency
Batter that’s too thin spreads too much, making dosas paper-thin and floppy, while batter that’s too thick won’t spread at all and burns before cooking through. The perfect consistency should coat the back of a spoon but still flow freely when poured.
If your batter is too thick, add 1 tbsp water at a time until it reaches a smooth, pourable state. Too thin? Let it sit for 10 minutes to thicken naturally, or add 1 tbsp rice flour to bind it.
Test by dropping a spoonful into water—if it holds its shape but still spreads slightly, you’re golden. ✨
Skipping the Oil Drizzle
Drizzling coconut oil around the edges of the dosa is what creates those coveted crispy borders. If you skip this step, your dosas will be soft all the way through with no texture contrast.
Use a small ladle to trace a thin line of oil around the batter just before it sets. This extra fat ensures the edges crisp up while the center stays tender. Pro tip: Heat the oil to 350°F before drizzling for maximum crispiness. 🥥
Flipping Too Early
Flipping a dosa before the edges are golden brown is a rookie mistake that leads to soggy, uneven cooking. The edges should be deep golden brown and the center should look slightly set but still moist—about 1-2 minutes of cooking time.
If you flip too soon, the dosa will stick to the pan and won’t develop that perfect crispy texture. Patience here is key; let the edges do their thing before you disturb them. 🔥
Using the Wrong Pan
A non-stick tawa or dosa pan is non-negotiable for crispy dosas. If you use a regular non-stick skillet or cast iron, the heat distribution won’t be even, and your dosas will either burn on the edges or stay raw in the center.
Invest in a dedicated dosa pan—Hawkins or Presto brands are reliable choices—or use a heavy-bottomed non-stick skillet with a diameter of at least 10 inches. Preheat the pan thoroughly before adding batter to ensure even cooking. 🍳
Nutrition facts
Frequently asked questions
Why does brown rice make dosas healthier than regular white rice?
Brown rice retains its bran and germ layers, packing in extra fiber and nutrients like magnesium and B vitamins that white rice loses during processing. This makes your dosas more filling while keeping them plant-based and nutrient-dense—perfect for breakfast or brunch. The fiber also helps balance blood sugar levels compared to refined white rice versions.
Can I make this batter ahead of time and freeze it?
Yes! After fermentation, let the batter cool completely, then portion it into ice cube trays or small containers. Freeze for up to 3 months. Thaw overnight in the fridge before using—no need to ref ferment. Pro tip: Add 1 tsp yogurt to thawed batter to revive fermentation if needed.
What's the secret to getting perfectly crispy edges?
Three things: proper fermentation (8-12 hours), a hot griddle (test with water droplets), and the oil drizzle technique. Heat the pan to medium-high, spread batter thin, then immediately drizzle coconut oil around edges. Let cook 1-2 minutes until edges are golden before flipping.
Can I substitute urad dal if I can't find it?
Try moong dal (yellow split peas) at equal weight, but expect slightly less crispiness. For best results, combine ¼ cup urad dal + ¼ cup moong dal to maintain texture. Never use whole urad dal—it must be split for smooth grinding. Indian grocery stores often carry both options.
How do I adjust the spice level for kids?
Reduce red chili powder to ¼ tsp and omit black salt (kala namak). For extra mildness, serve with plain yogurt instead of spicy chutneys. Kids love the crispy texture—just focus on the savory flavors from urad dal and curry leaves. Always let them taste first before adding more heat!